 products import from xml to shopify

Contact us
Email: sales@yfifx.com
Tel: +380(95)812-65-42
Telegram Whatsapp Facebook
Terms and conditions
Welcome to YfiFx.com: Your Ultimate Shopify CSV/XML Import Solution!
Are you a passionate store owner looking to streamline your product management on Shopify? Are CSV and XML files causing you more headaches than harmony? Look no further – YfiFx.com is here to simplify and elevate your e-commerce game!
Why Choose YfiFx.com?
Seamless Integration, Effortless Success:
Navigating the world of Shopify CSV import and Shopify XML import can be daunting, especially if you're new to the e-commerce scene. With YfiFx.com, integration is as simple as a few clicks. Our user-friendly interface ensures a seamless import process, making it easier than ever to organize and showcase your products on Shopify.
Optimized SEO for Your Store:
Boost your store's visibility with our advanced SEO features specifically designed for Shopify CSV and XML imports. YfiFx.com empowers you to effortlessly optimize product listings, ensuring your items are discovered by the right audience. Don't just sell products – make them shine in search results and stand out from the competition with our Shopify CSV and XML import optimization tools.
Time is Money – Save Both:
We understand that time is your most valuable asset. YfiFx.com accelerates the Shopify CSV and XML import process, enabling you to spend less time managing data and more time growing your business. Whether you're a one-person operation or a small team, we're here to maximize your efficiency in Shopify CSV and XML imports.
Error-Free Imports:
Tired of dealing with data discrepancies? Our robust error-checking system ensures that your Shopify CSV and XML import information is imported accurately. No more frustrating troubleshooting – just a smooth, error-free transition to a perfectly organized store.
24/7 Support for Your Peace of Mind:
Got questions about Shopify CSV and XML import? Need assistance? Our dedicated support team is here around the clock to provide guidance and ensure your experience with YfiFx.com in Shopify CSV and XML imports is nothing short of exceptional. No more feeling alone in the vast e-commerce landscape – we've got your back!
How YfiFx.com Works:
Upload Your CSV/XML File: Select your file, and let YfiFx.com do the heavy lifting for your Shopify CSV import and Shopify XML import needs.
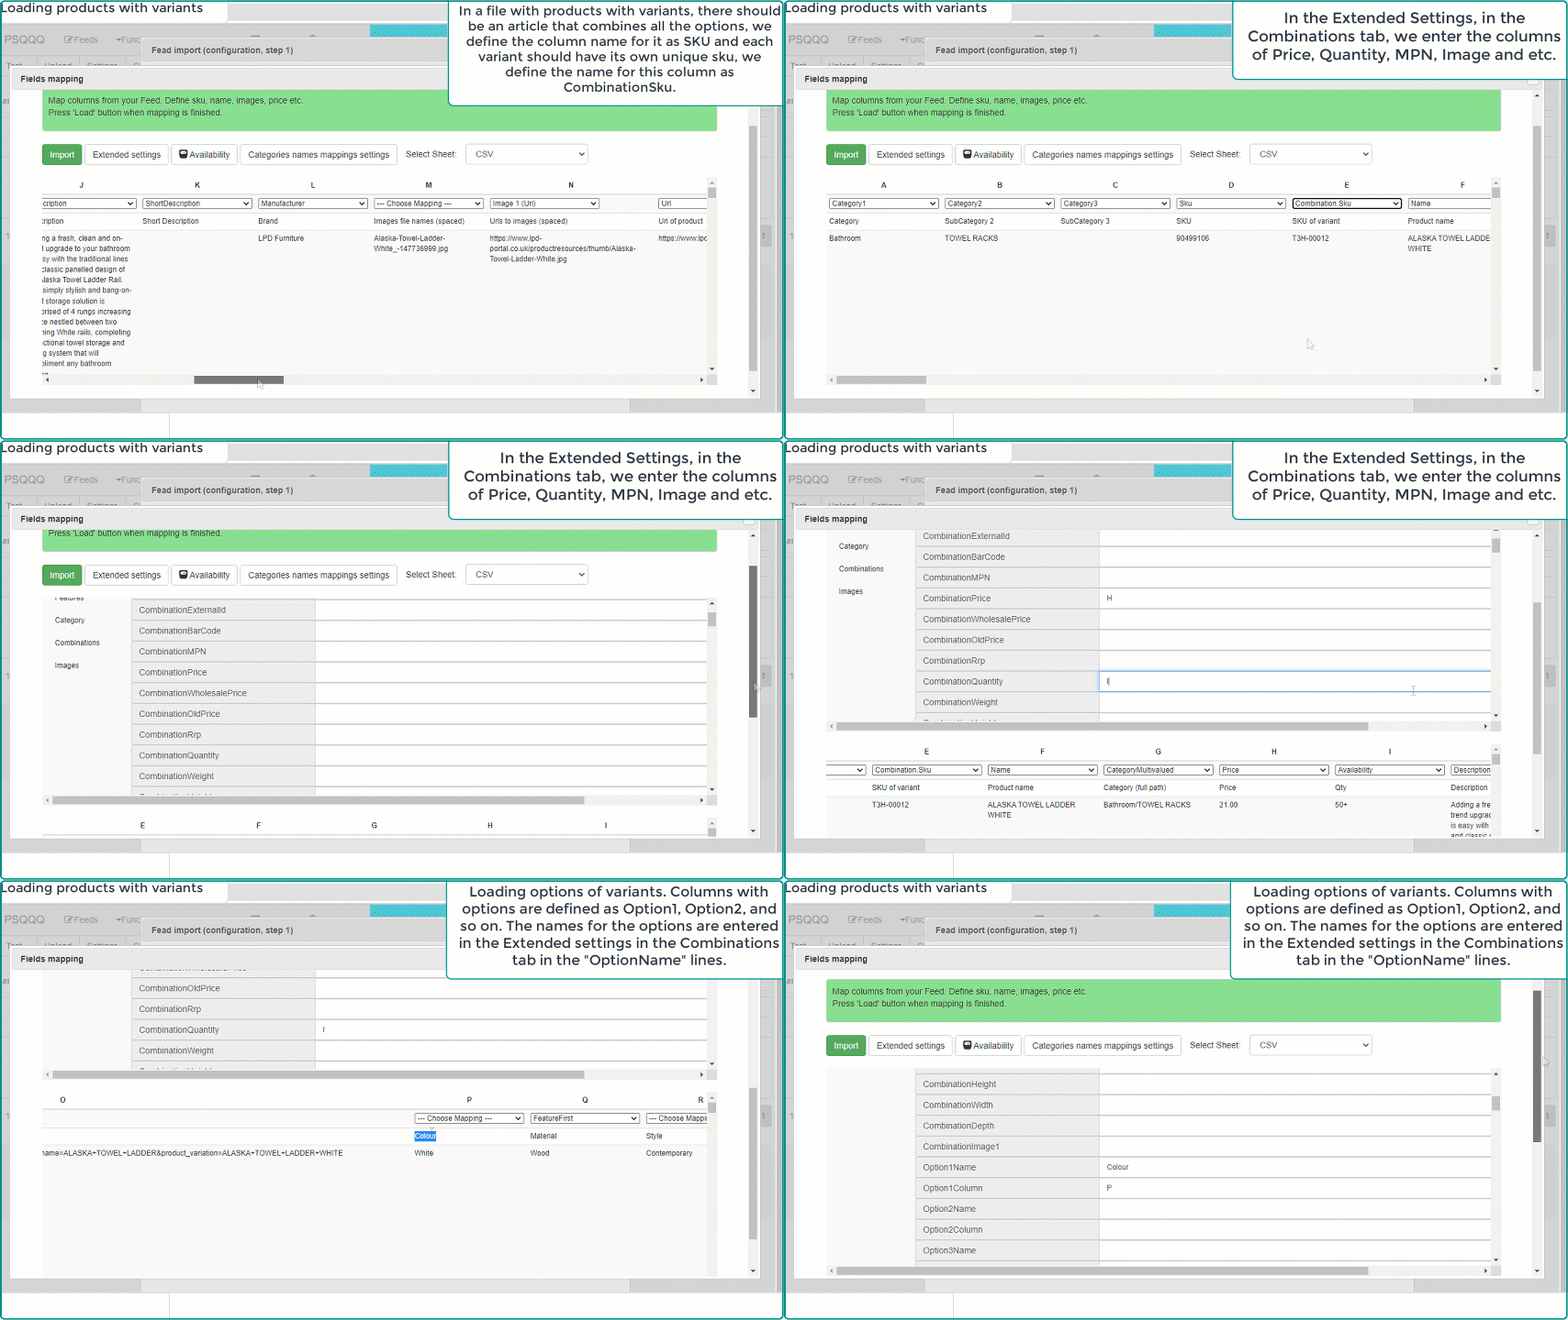
Map Your Data: Our intuitive mapping tool helps you match your Shopify CSV or XML file columns to Shopify fields effortlessly.
Preview and Confirm: Take a sneak peek at your Shopify CSV and XML data before finalizing the import. Make any adjustments needed.
Start Importing: Click, sit back, and relax. YfiFx.com handles the Shopify CSV and XML import rest, giving you more time to focus on growing your business.
Ready to take the hassle out of Shopify CSV and XML product management? Sign up for YfiFx.com today and discover the joy of stress-free e-commerce!
Elevate your store. Simplify your life. YfiFx.com – where efficiency meets excellence in Shopify CSV and XML imports.